

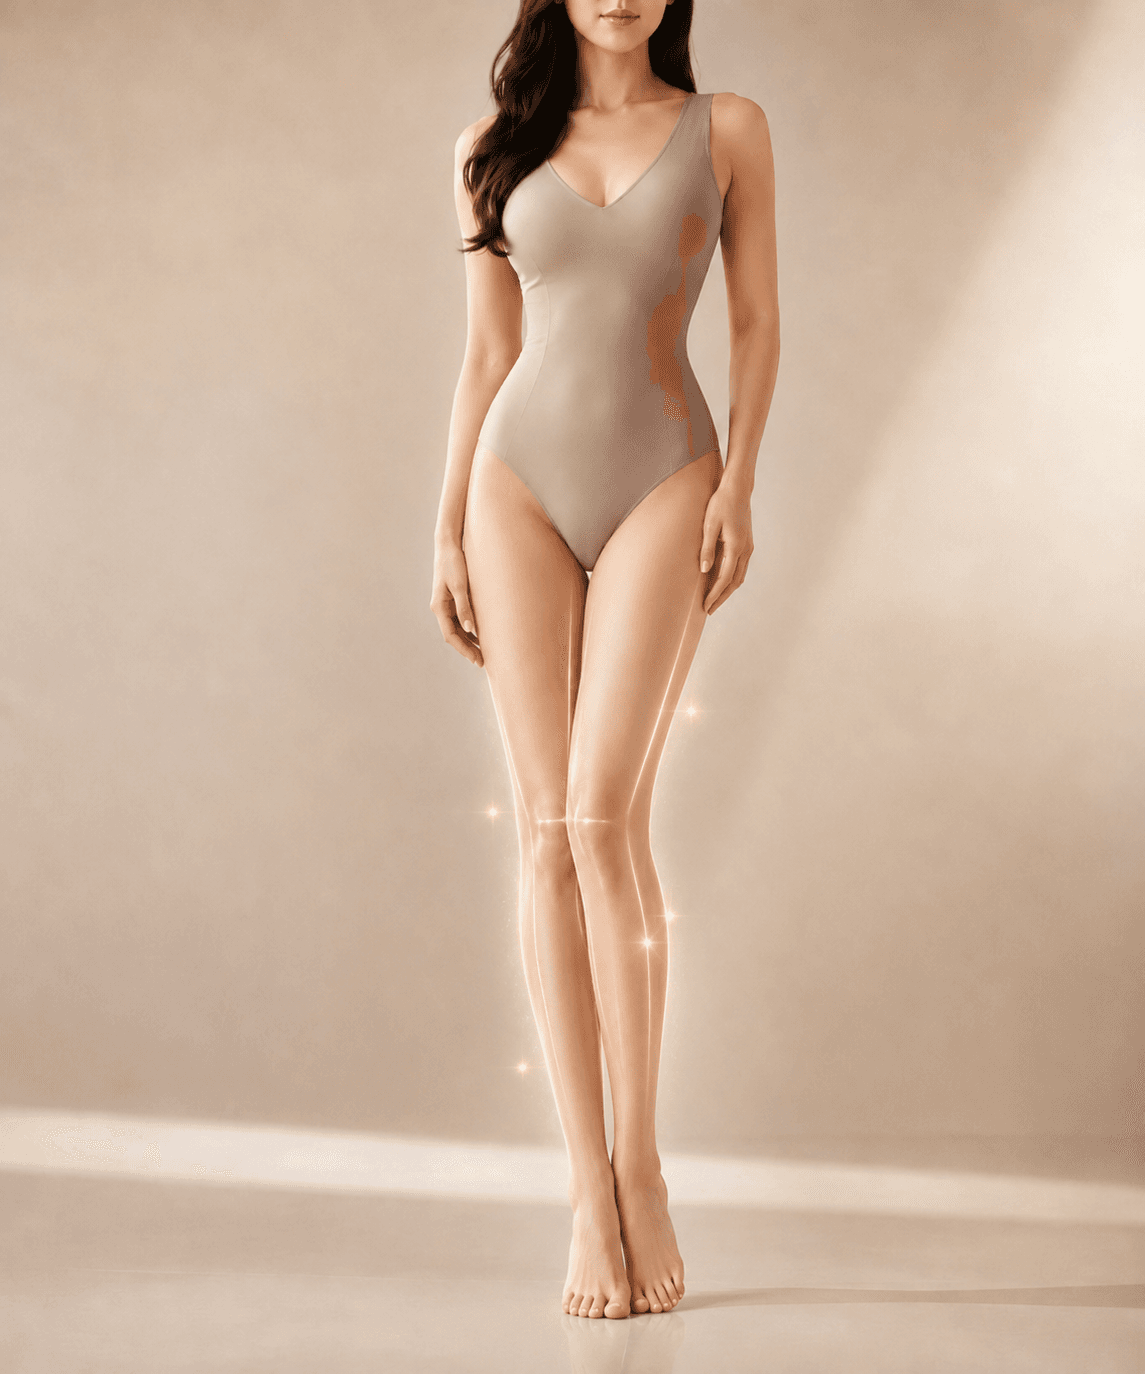
Knee Line Design
Body Design · Knee Line Design
When the knee line changes, the whole leg reads differently
We reduce unnecessary volume at the front and inner knee, and supplement the hollow at the upper inner calf. The line running from knee to calf is designed to look more resolved and continuous.
Consultation and surgery by the specialist · 1 minute on foot from Sinsa Station
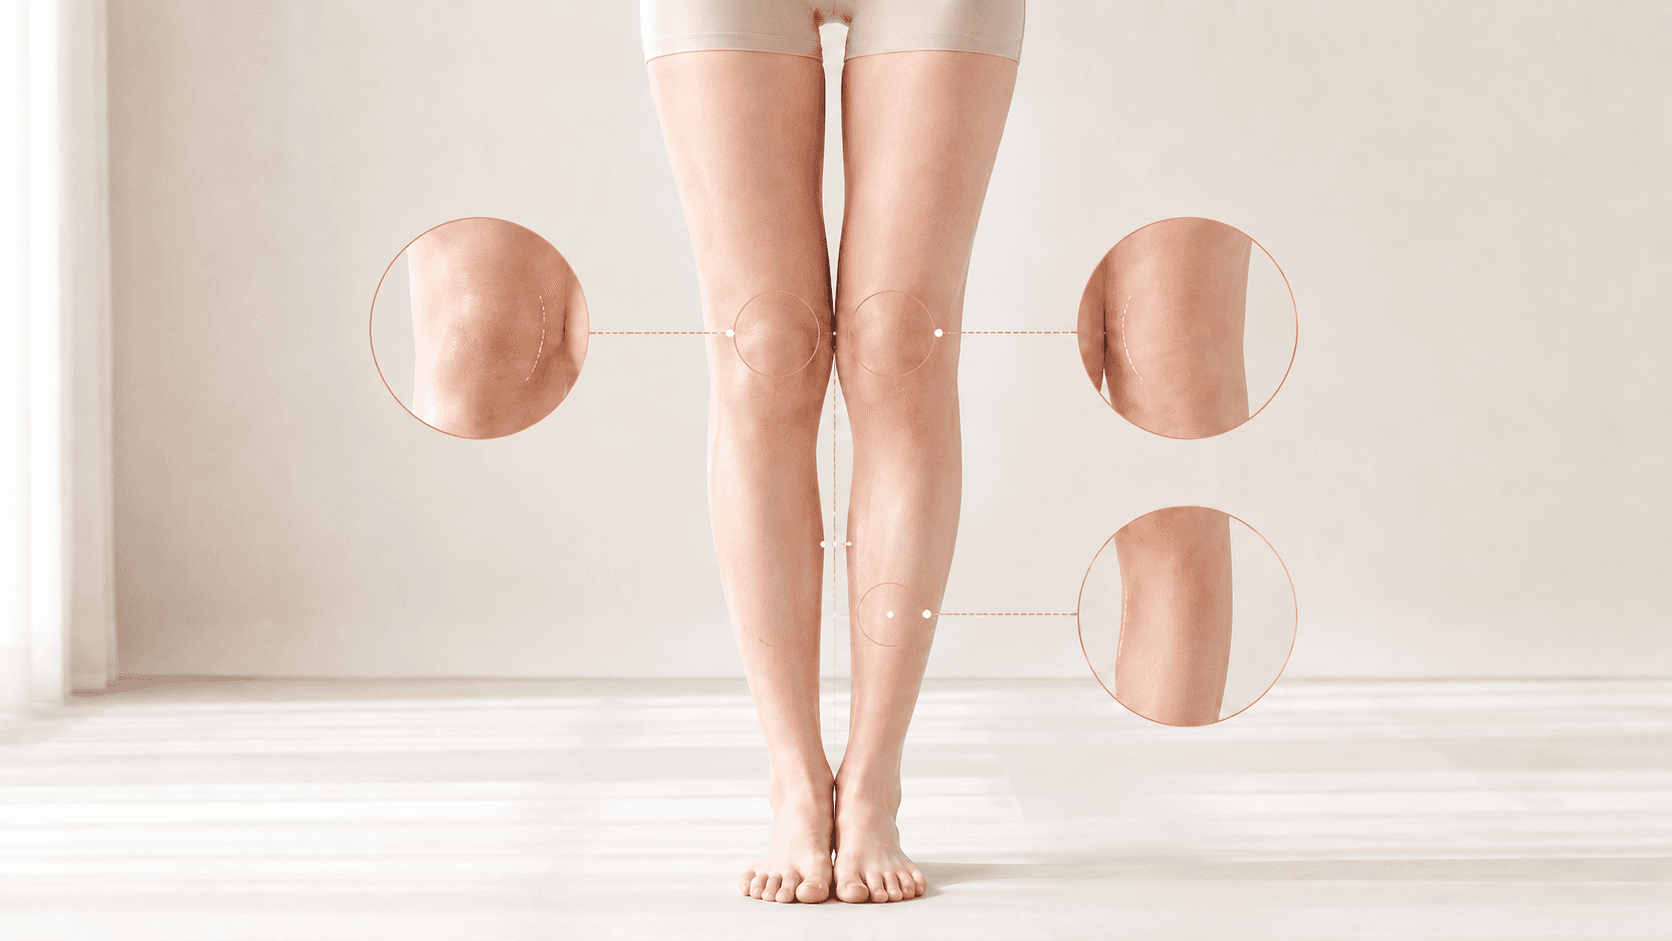
Why Legs Look Less Straight
What makes a leg look straight is the line below the knee, not the thigh
Legs that look short or bowed are not only a matter of thickness. Where the line above and below the knee bunches, where it breaks, and what kind of fat sits there — these shape the impression. Five points build that line.
01
Anterior knee
Volume sitting on the front of the knee
Fat over the front of the knee dulls the front of the leg, and the knee itself reads larger than it is.
02
Medial knee
Bunching at the inner knee
When the inner side bunches, the gap between the knees looks narrower and the leg reads as less straight.
03
Lower thigh – knee transition
The slope from thigh into knee
If the line from the lower thigh into the knee is not gradual, the area above the knee can look as though it is sitting on top.
04
Proximal medial calf
The hollow just below the inner knee
A hollow below the inner knee breaks the inner line and can make the leg look more bowed.
05
Character of the fat layer
A firm, uneven fat layer
Around the knee the fat layer can be firm with densely distributed fibrous tissue, and the surface may feel uneven — this varies from person to person.

NB Technique
At the knee, how you release and connect matters more than how much you remove
Around the knee the fat layer is thin and the transition is short. Depending on tissue firmness, fibrous structure and the state of the skin surface, reducing volume alone may not produce a smooth line. That is why suction does not always come first — sometimes the tissue is released beforehand.
01
Fibrous Fat
Fibrous fat layer
Around the knee, the thickness of the fat layer and the distribution of fibrous tissue differ from area to area. Resistance to suction is higher, and treating every area the same way can leave sections where the surface stays uneven.
02
VASER 2 Preparation
Ultrasound preparation
When the fat layer is firm, VASER 2 ultrasound energy may be used to emulsify the fat and release the tissue first, creating the conditions for precise suction. It is not a device for removing more, but a preparatory step for handling the area evenly.
03
Smooth Transition
Connecting the transition
The anterior and medial knee are not reduced in isolation. Thickness and curvature across the lower thigh, knee and calf are read together, and the borders are refined as one.
04
Selective Fat Graft
Selective fat grafting
Where a hollow breaks the line — at the proximal medial calf, for example — a limited amount of fat may be grafted only within the area that needs it, so the connecting line does not read as interrupted.
Ultrasound-assisted liposuction is a technique with its own precautions. It is not a standard step applied to every knee; it is used selectively when the tissue is firm and strongly fibrous. Whether and how far it is used is decided after assessing the tissue at consultation.
Whether this is simply a matter of volume, or whether fibrous fat and line continuity both need attention, is confirmed at consultation.
Ask what to reduce and what to connectDesign Principle
Release, reduce, connect, and fill only where it is needed
Knee Line Design is not a procedure of removal alone. Four tasks are planned together along a single line.
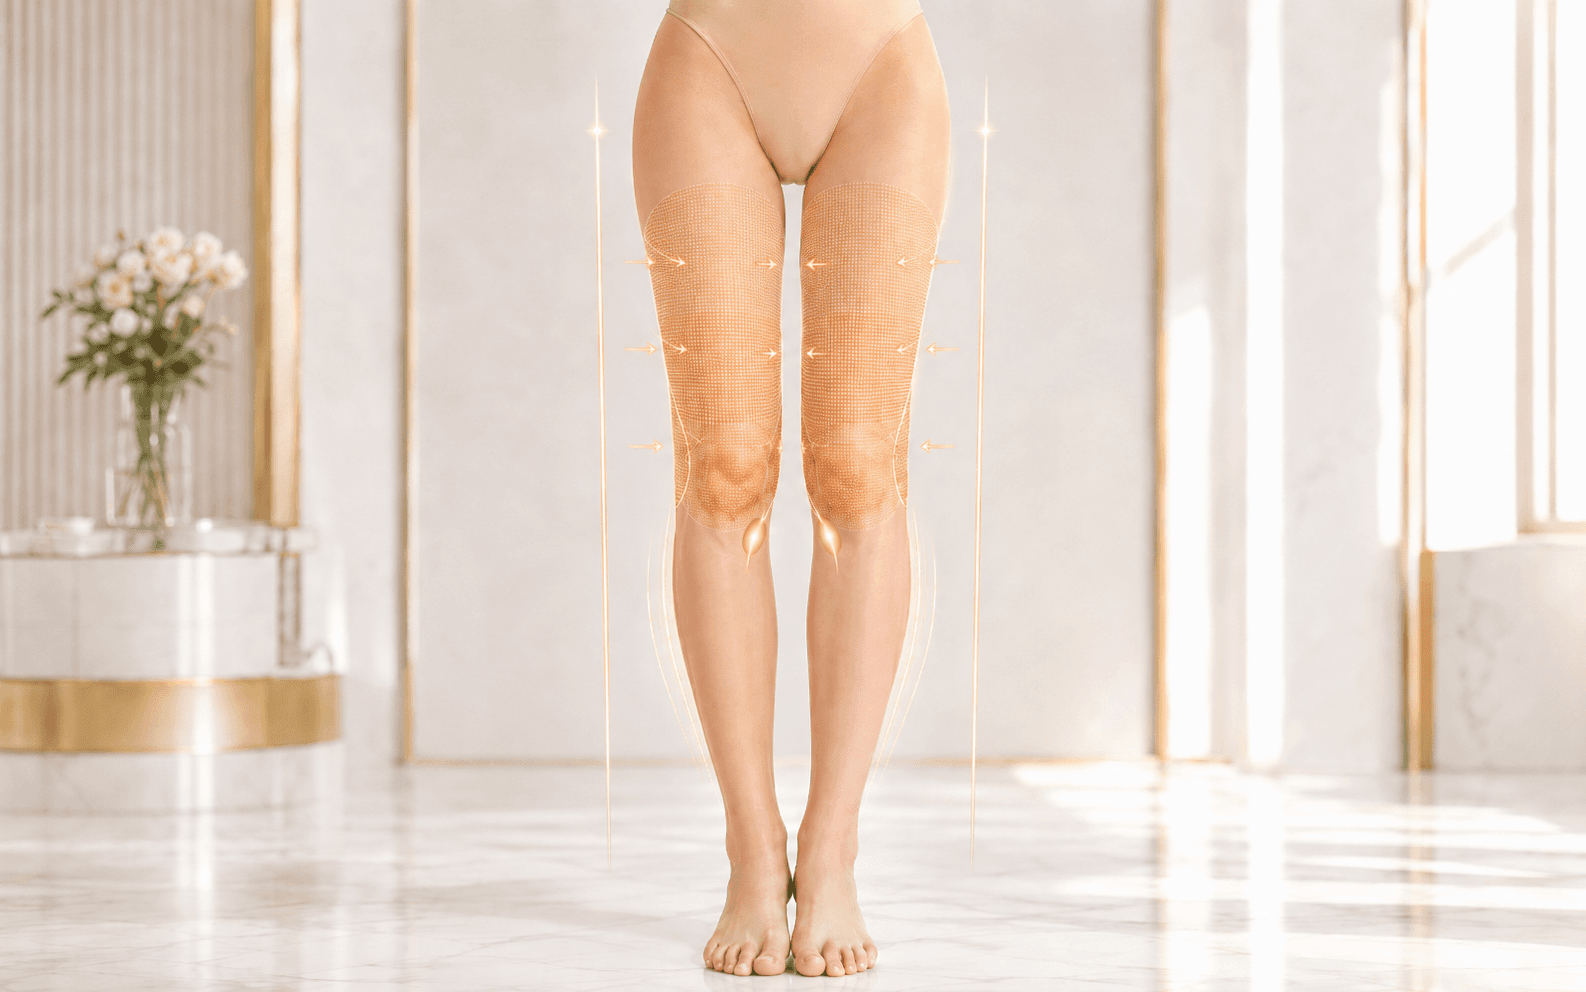
Release
We release
Firm tissue is not suctioned as it is.
- We first assess how firm and how fibrous the fat layer around the knee is.
- Where appropriate, ultrasound energy emulsifies the fat layer and releases the tissue.
- This is not a standard step for every knee, but a choice made from the condition of the tissue.
Reduce
We reduce
Only the volume that dulls the line is selectively reduced.
- Anterior knee — thickness at the front is lowered so the knee sits less prominently.
- Medial knee — inner volume is reduced so the line between the knees reads less bunched.
- Lower thigh and knee transition — the slope is eased only where that is needed.
Connect
We connect
We design how one section moves into the next, rather than the thickness of each part.
- The change in thickness across lower thigh, knee and calf is read as a single curve.
- Borders are refined so that no abrupt step or shadow appears.
- How the transition reads from the front and at 45 degrees is checked together.
Fill
We supplement
Only a hollow that breaks the line is filled, and only as much as needed.
- Fat grafting at the proximal medial calf — the aim is to rejoin an interrupted line.
- This is not surgery to enlarge the calf. It corrects a hollow rather than adding volume.
- The amount grafted is set by the depth and extent of the indentation.
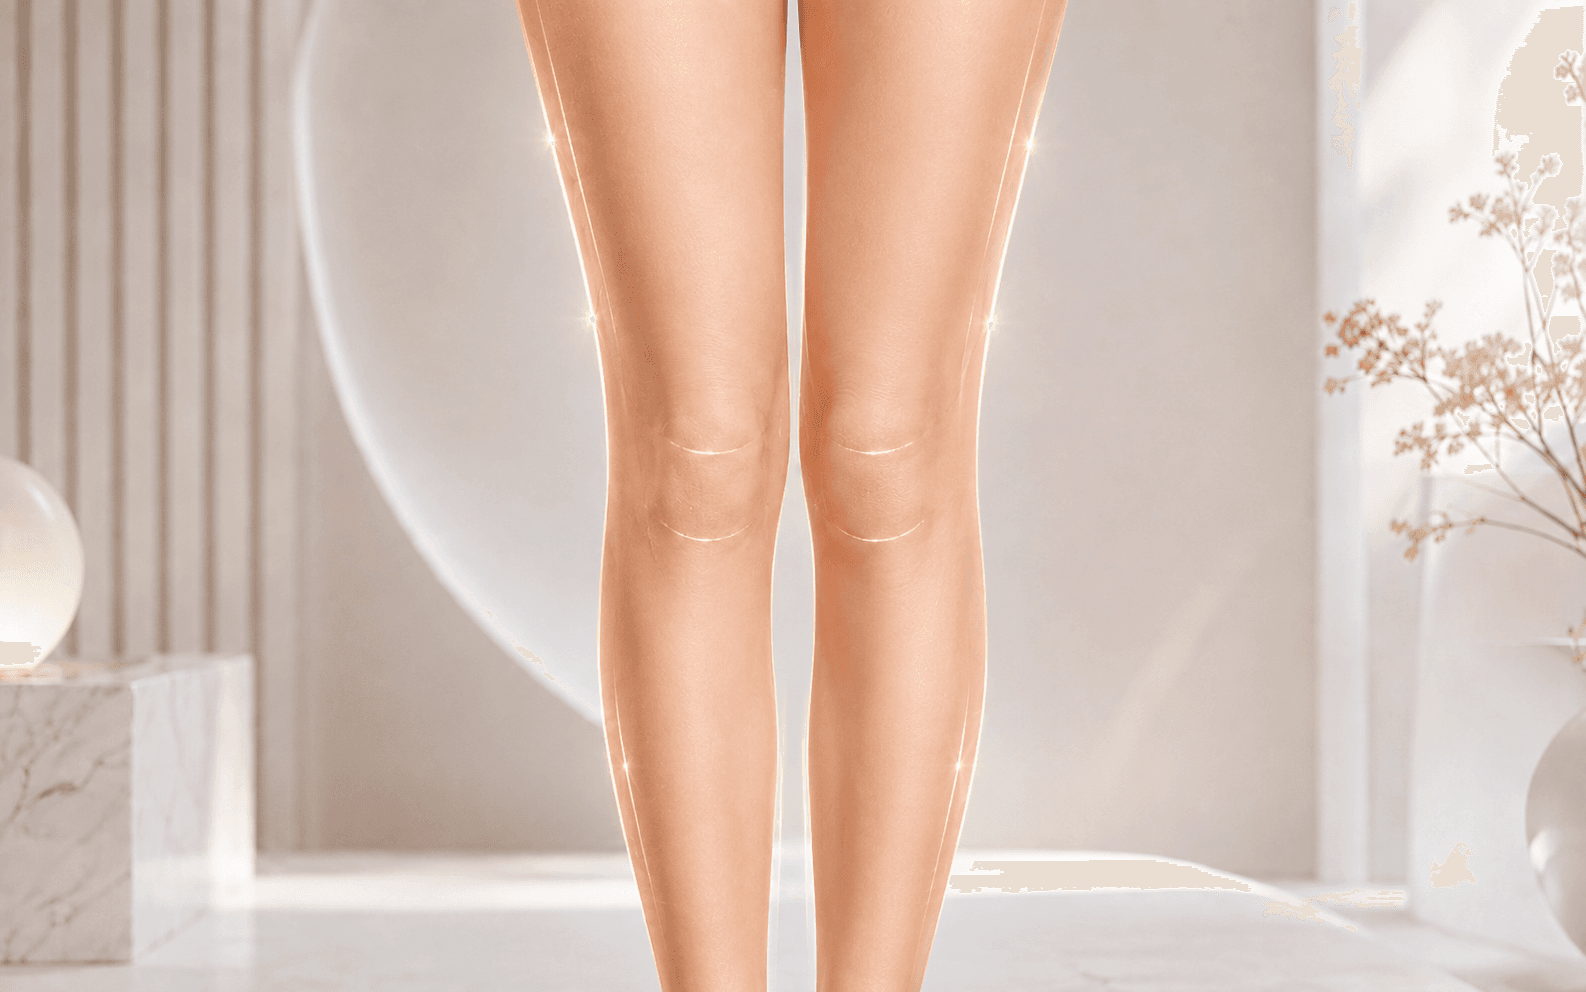
Knee Line Design is not about making the knee smaller. Firm fat is released as gently as needed and then reduced with precision, the change in thickness from lower thigh through knee to calf is connected, and a hollow is supplemented selectively where required — so the leg reads as one straighter, smoother line.
Self Check
If this sounds like you, the connecting line is worth reading too
If any of the following applies, consultation can confirm whether designing the knee alone is enough, or whether upper calf refinement is needed as well.
- The front of the knee is prominent, and skirts or slim trousers do not fall the way you would like
- The inner knee looks bunched, so the leg reads as less straight
- The upper inner calf is hollow, leaving the line below the knee looking empty
- You feel it is the knee, rather than the thigh, that dulls the leg line
- Tissue around the knee feels firm to the touch and the surface feels uneven
- The knee line does not look resolved regardless of your weight
- After thigh liposuction, the knee-to-calf connection still feels unfinished
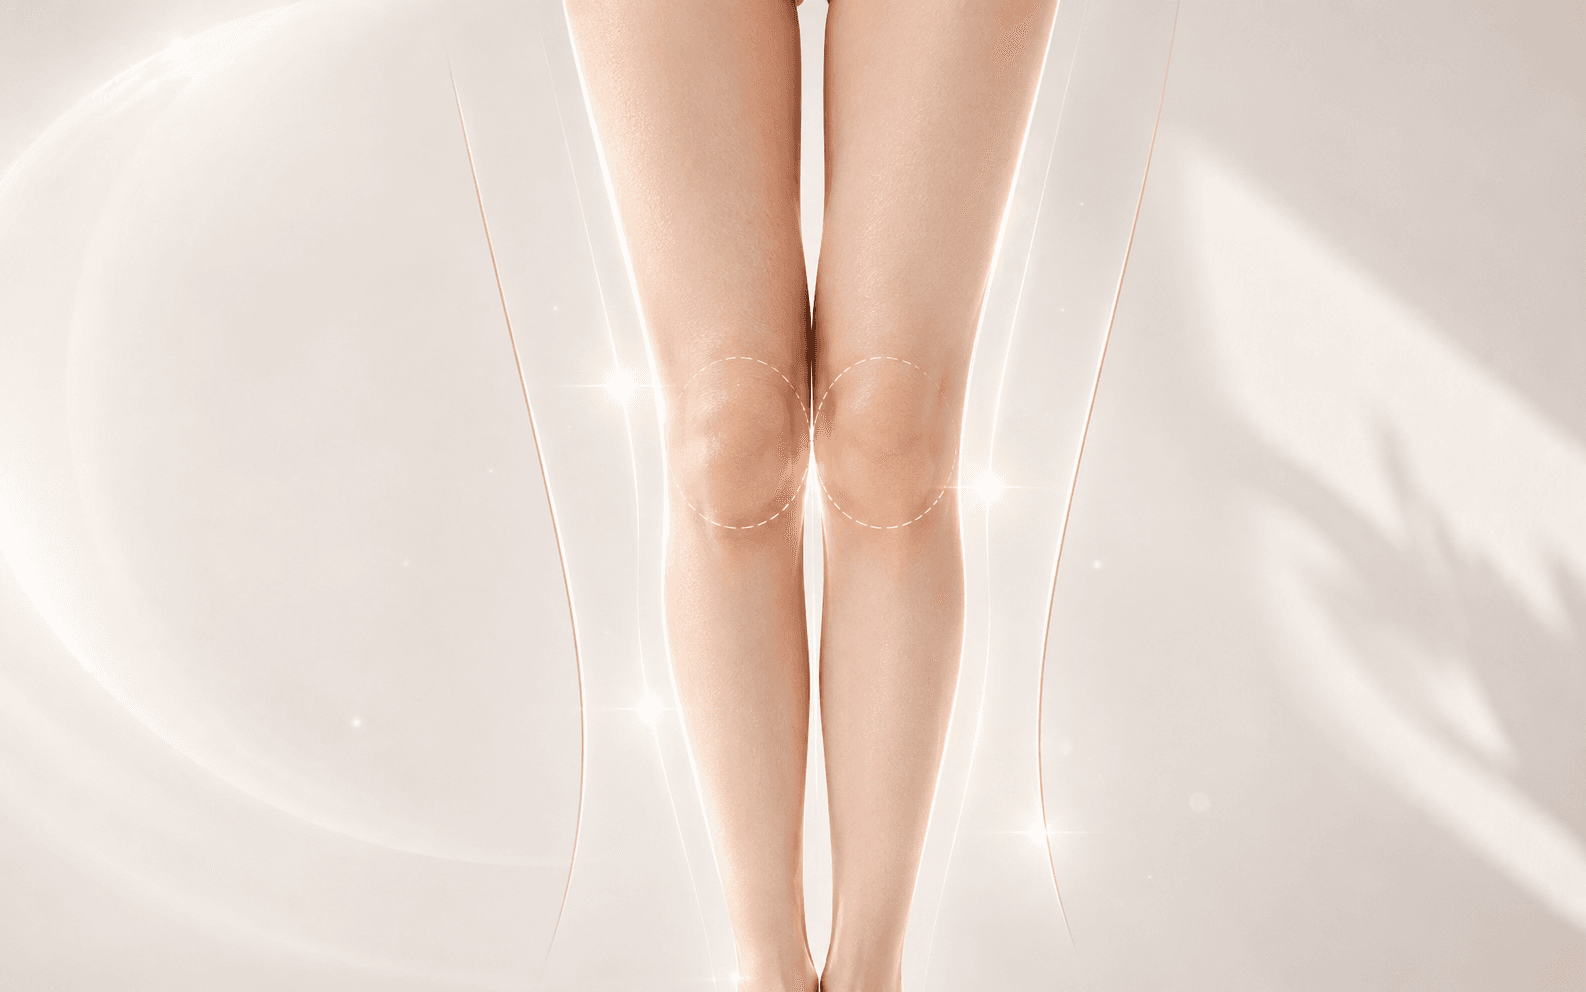
Even a single item can have more than one cause. Start by confirming what range is actually needed.
Ask whether I am a suitable caseThe NB Difference
Not the knee alone — we design how the whole leg reads
NB sets the scope of a design by the line, not by the area. Rather than a procedure that ends at the knee, reading the transition through the lower thigh and calf is the baseline.

01
We read the transition first
We first look at how thickness changes across the lower thigh, knee and calf. How one section moves into the next shapes the impression more than the absolute thickness of any single area.
02
We do not suction the knee in isolation
Reducing only the visible knee fat can leave a step or a shadow at the border. Refining the borders together is our default.
03
The approach changes with tissue condition
Where the fat layer is firm and strongly fibrous, ultrasound preparation is included; a soft fat layer is suctioned precisely without it. The same area is not treated the same way in every case.
04
Some sections look slimmer once filled
Removing everywhere is not what makes a leg slimmer. A hollow that breaks the line is better supplemented only as much as needed, which can make the whole read more resolved.
05
Not only from the front — 45 degrees and in motion
Rather than one still frontal photograph, the scope is set by checking 45 degrees and how the leg reads standing and walking.
06
Body proportion, skeletal axis and muscle shape together
Even for the same knee, the correction needed changes with the skeletal axis and the shape of the calf muscle.
Removing everywhere is not what makes a leg look slimmer. If a hollow below the inner knee is breaking the line, supplementing it only as much as needed can make the whole leg read straighter and more resolved.
What May Change
What may change after surgery
- The area around the knee may look less bunched
- The inner knee line may look more resolved
- The connection below the knee may read as a smoother continuation
- The leg overall may read as straighter and more composed
- The knee line may look more finished in slim-fitting clothing
The above describes what the surgery aims for. Results may differ from person to person according to fat distribution, tissue character, skin elasticity, skeletal axis and the course of recovery.

Consultation & Recovery
What we assess at consultation, and how recovery proceeds
We do not fix the scope first. We confirm what is creating the concern and what the tissue is like, then include only as much as is needed in the design.
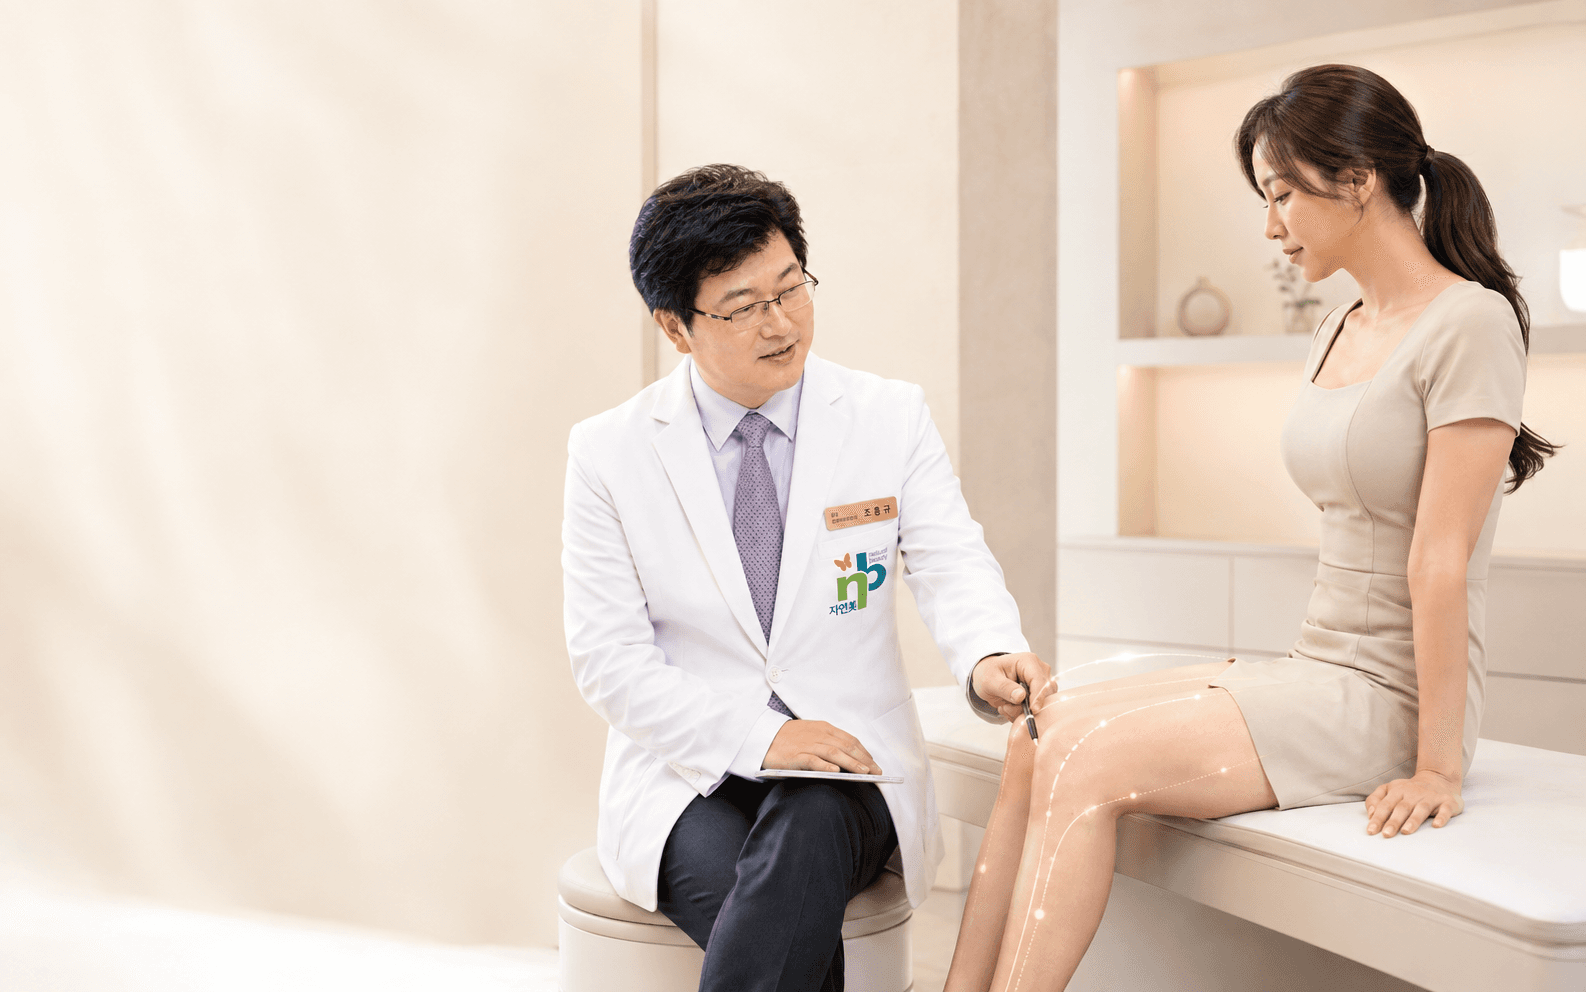
Consultation
What we assess at consultation
- Where anterior knee volume sits, and how thick it is
- Fat distribution at the inner knee
- How firm and how fibrous the fat layer is
- The depth and extent of the hollow at the proximal medial calf
- The overall lower-body axis and the transitions above and below the knee
Recovery
What happens during recovery
- Swelling and bruising are most noticeable early on and then subside gradually
- How long and how to wear the compression garment is guided by the scope of the design
- Early on, swelling can make the line look different from the eventual result
- Grafted fat needs time to settle, and change continues during that period
Principle
Design principles we hold to
- We avoid over-suction — taking too much around the knee can leave irregularity and laxity
- We avoid over-grafting — filling more than needed can make the calf look thicker
- Ultrasound preparation is a technique with its own precautions, so it is used only when needed
- A natural, balanced connection takes priority over simply making the leg thinner
FAQ
Frequently asked questions
If volume at the front and inner knee is the main cause, designing the knee alone may already change the impression. But when the upper inner calf is hollow as well, reducing the knee alone leaves the interrupted line as it is. Which of the two applies is confirmed together at consultation.
Around the knee, the thickness of the fat layer and the distribution of fibrous tissue are not uniform, and the area runs directly into the lower thigh and the calf. That is why the surface and the transition are considered alongside volume rather than volume alone. The approach also differs with individual skin elasticity and fat distribution.
Where a firm, fibrous fat layer has developed, ultrasound energy may be used to emulsify the fat layer before suction is carried out. Whether and how far it is used is decided by the condition of the tissue and the design goal, and it is not a standard step applied to every knee.
Not in order to remove as much as possible, but to supplement a hollow that breaks the line, only as much as needed. When the area below the inner knee is hollow, no amount of reduction will rejoin the line — so where to reduce and where to fill are decided within the same design.
No. Fat grafting in this design corrects a hollow rather than adding volume. The amount is set by the depth and extent of the indentation, on the principle of not filling more than is needed.
Refining only the front can leave the leg looking thinner from the front while inner bunching remains, so the legs still read as close together. Refining only the inner side can leave the knee looking large because of anterior volume. The two are the same knee seen from different angles, so they are designed together.
It is often designed together. When the transition from thigh into knee is refined at the same time, the connecting line can read more naturally. Whether to combine them, and to what extent, is decided at consultation.
Early on, swelling and marks from the compression garment can make the line look different from the eventual result. Grafted areas need longer to settle, so the final line is judged as recovery progresses.

If you are still unsure whether your concern is the knee or the connecting line, a frontal and 45-degree photograph is enough for a first read. Actual cases are provided through member access.
Related Line Design
Leg line designs worth reading together
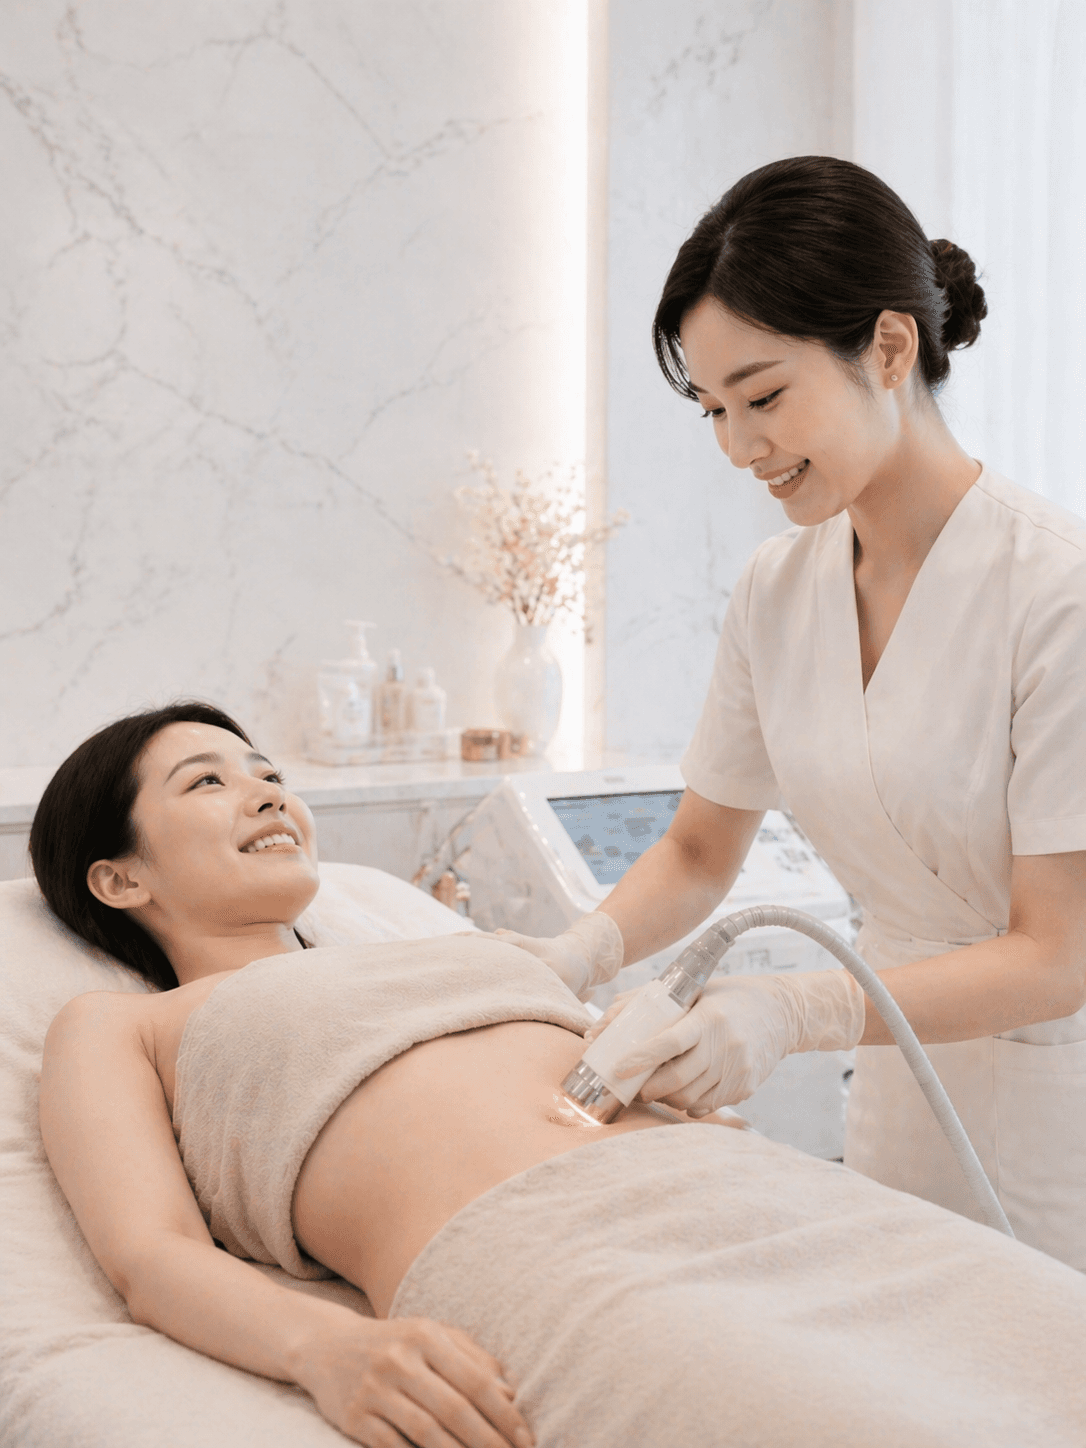
After surgery, with you through recovery
- 01VersaClear light therapy2 sessions
- 02Ucell standing-wave therapy2 sessions
- 03Radiofrequency care4 sessions
- 04
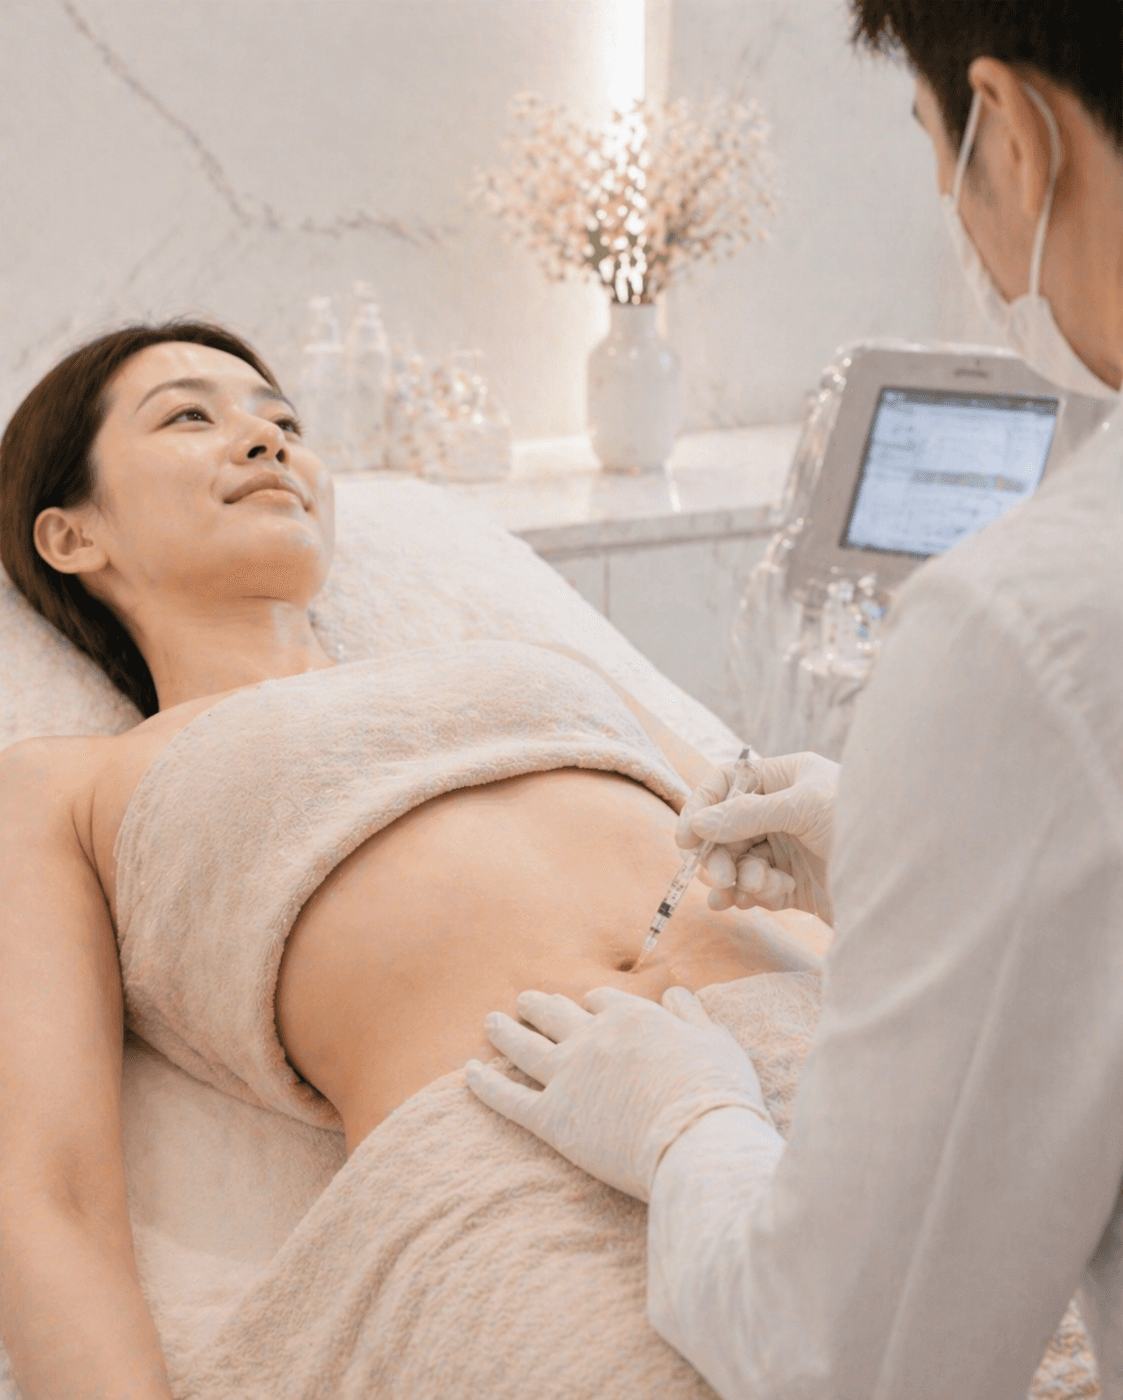 Soft-meso injection· Performed by the doctor2 sessions
 - 05
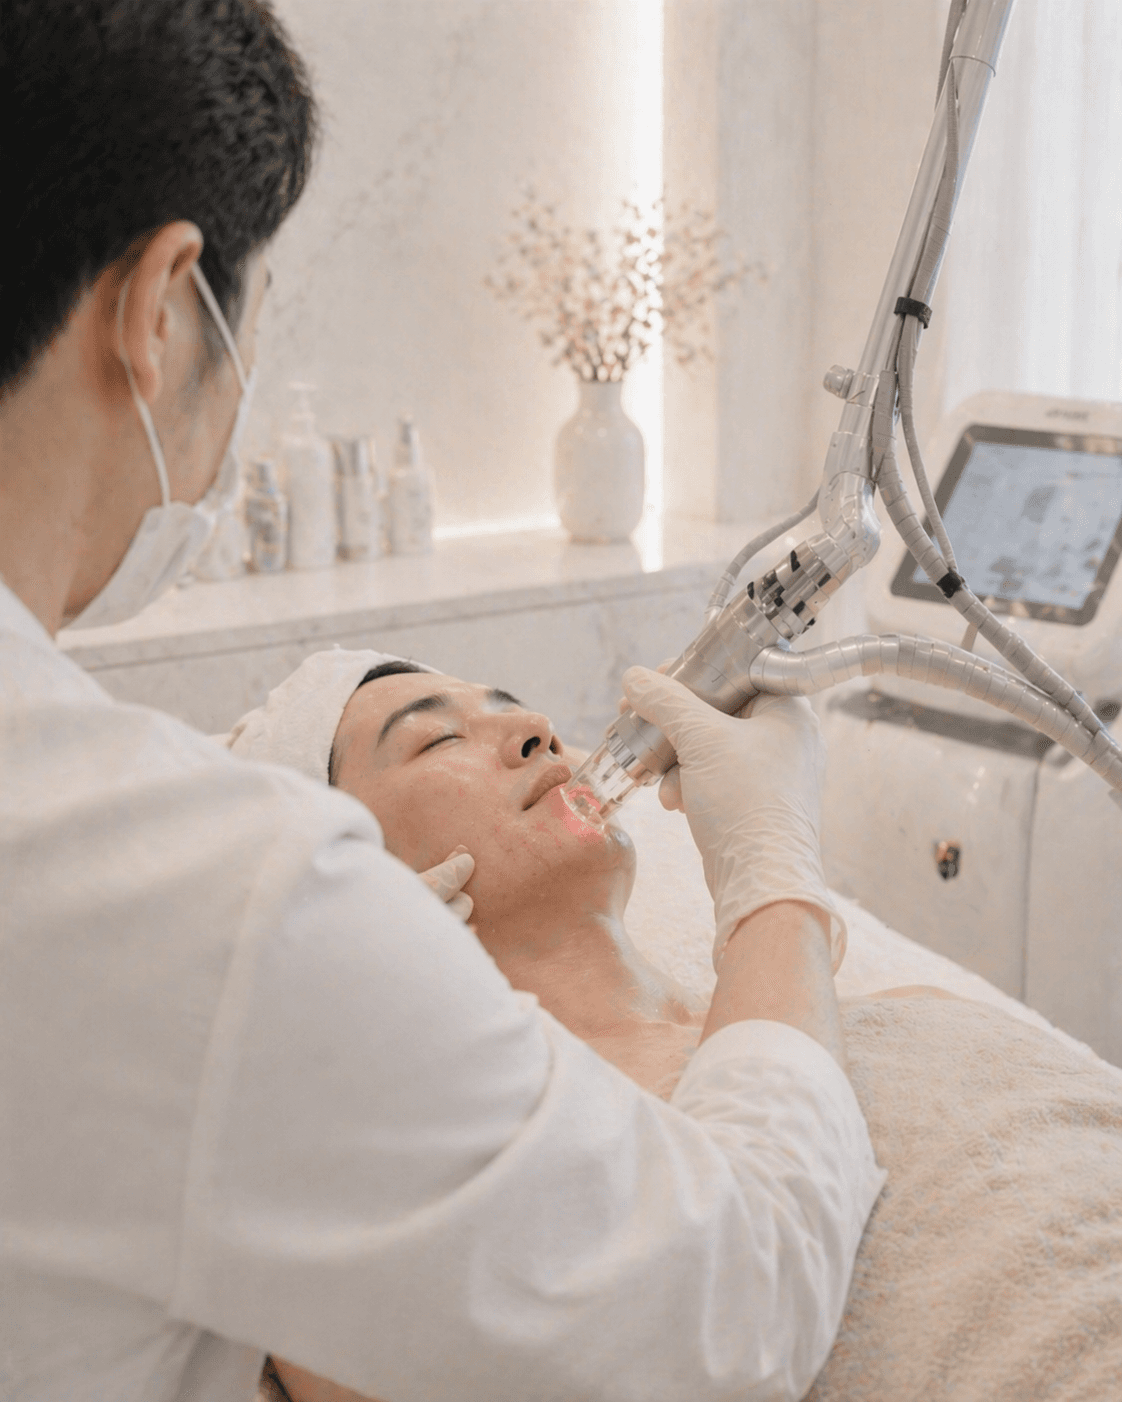 Fraxel scar laser· Performed by the doctor2 sessions
Basic aftercare is provided as a standard programme of 12 sessions in total — 4 swelling-care, 4 radiofrequency, 2 scar-laser and 2 meso-injection sessions. Actual scheduling and completion may vary depending on your ability to attend.
If care is needed beyond the basic aftercare, NB surgery patients receive a 50% discount on the standard price.
Legal Notice
※ If care cannot be provided due to reasons such as equipment malfunction, the affected care item may not be offered; as a service item, it is non-refundable.
※ Depending on your constitution and healing process, side effects such as swelling, bruising, inflammation, and scarring may occur after surgery.

Consultation
Find out first whether the reason your legs look less straight is the knee or the calf connection
Whether anterior and medial knee design and upper calf refinement are needed, or whether the tissue is firm enough to call for preparation first — a tailored consultation can confirm it.
After the consultation we guide you on the range and the priorities that are needed.
A natural connection and balance take priority over pushing for more.
02-3446-9009 · 1 minute on foot from Sinsa Station Exit 7